
I am in the process of making not one, but two, 8 x 2 foot canvases for some very special clients. Each will hang on the wall of their offices, and will not be missed.
This one is for Betts Drilling, of Carnduff. The shots are from Betts Rig 1, when it was on its first hole.
The first thing was the construction of the frame – a reinforced kiln-dried fir frame that should not warp. You can’t just use cheap spruce and hope for the best.
Next was editing. This print is 100 inches wide – wide enough to wrap around the 96 inch frame. Since it will be close enough for people to walk up to, it was printed at 200 dpi. That necessitated a 20,000 pixel wide image – which is, coincidentally, the largest image Photoshop can handle. (Bet you didn’t know that, did ya?)
The image is a collage of four images. Each had to be upsized, some as much as 320%, to match the resolution of the final output. Even four 12 megapixel photos need a boost when printing this large. They were shot before I got my Nikon D4, which is 16 megapixels. I am now understanding why Nikon put out the 36 megapixel D800. My next camera will have that sort of resolution for exactly this reason.
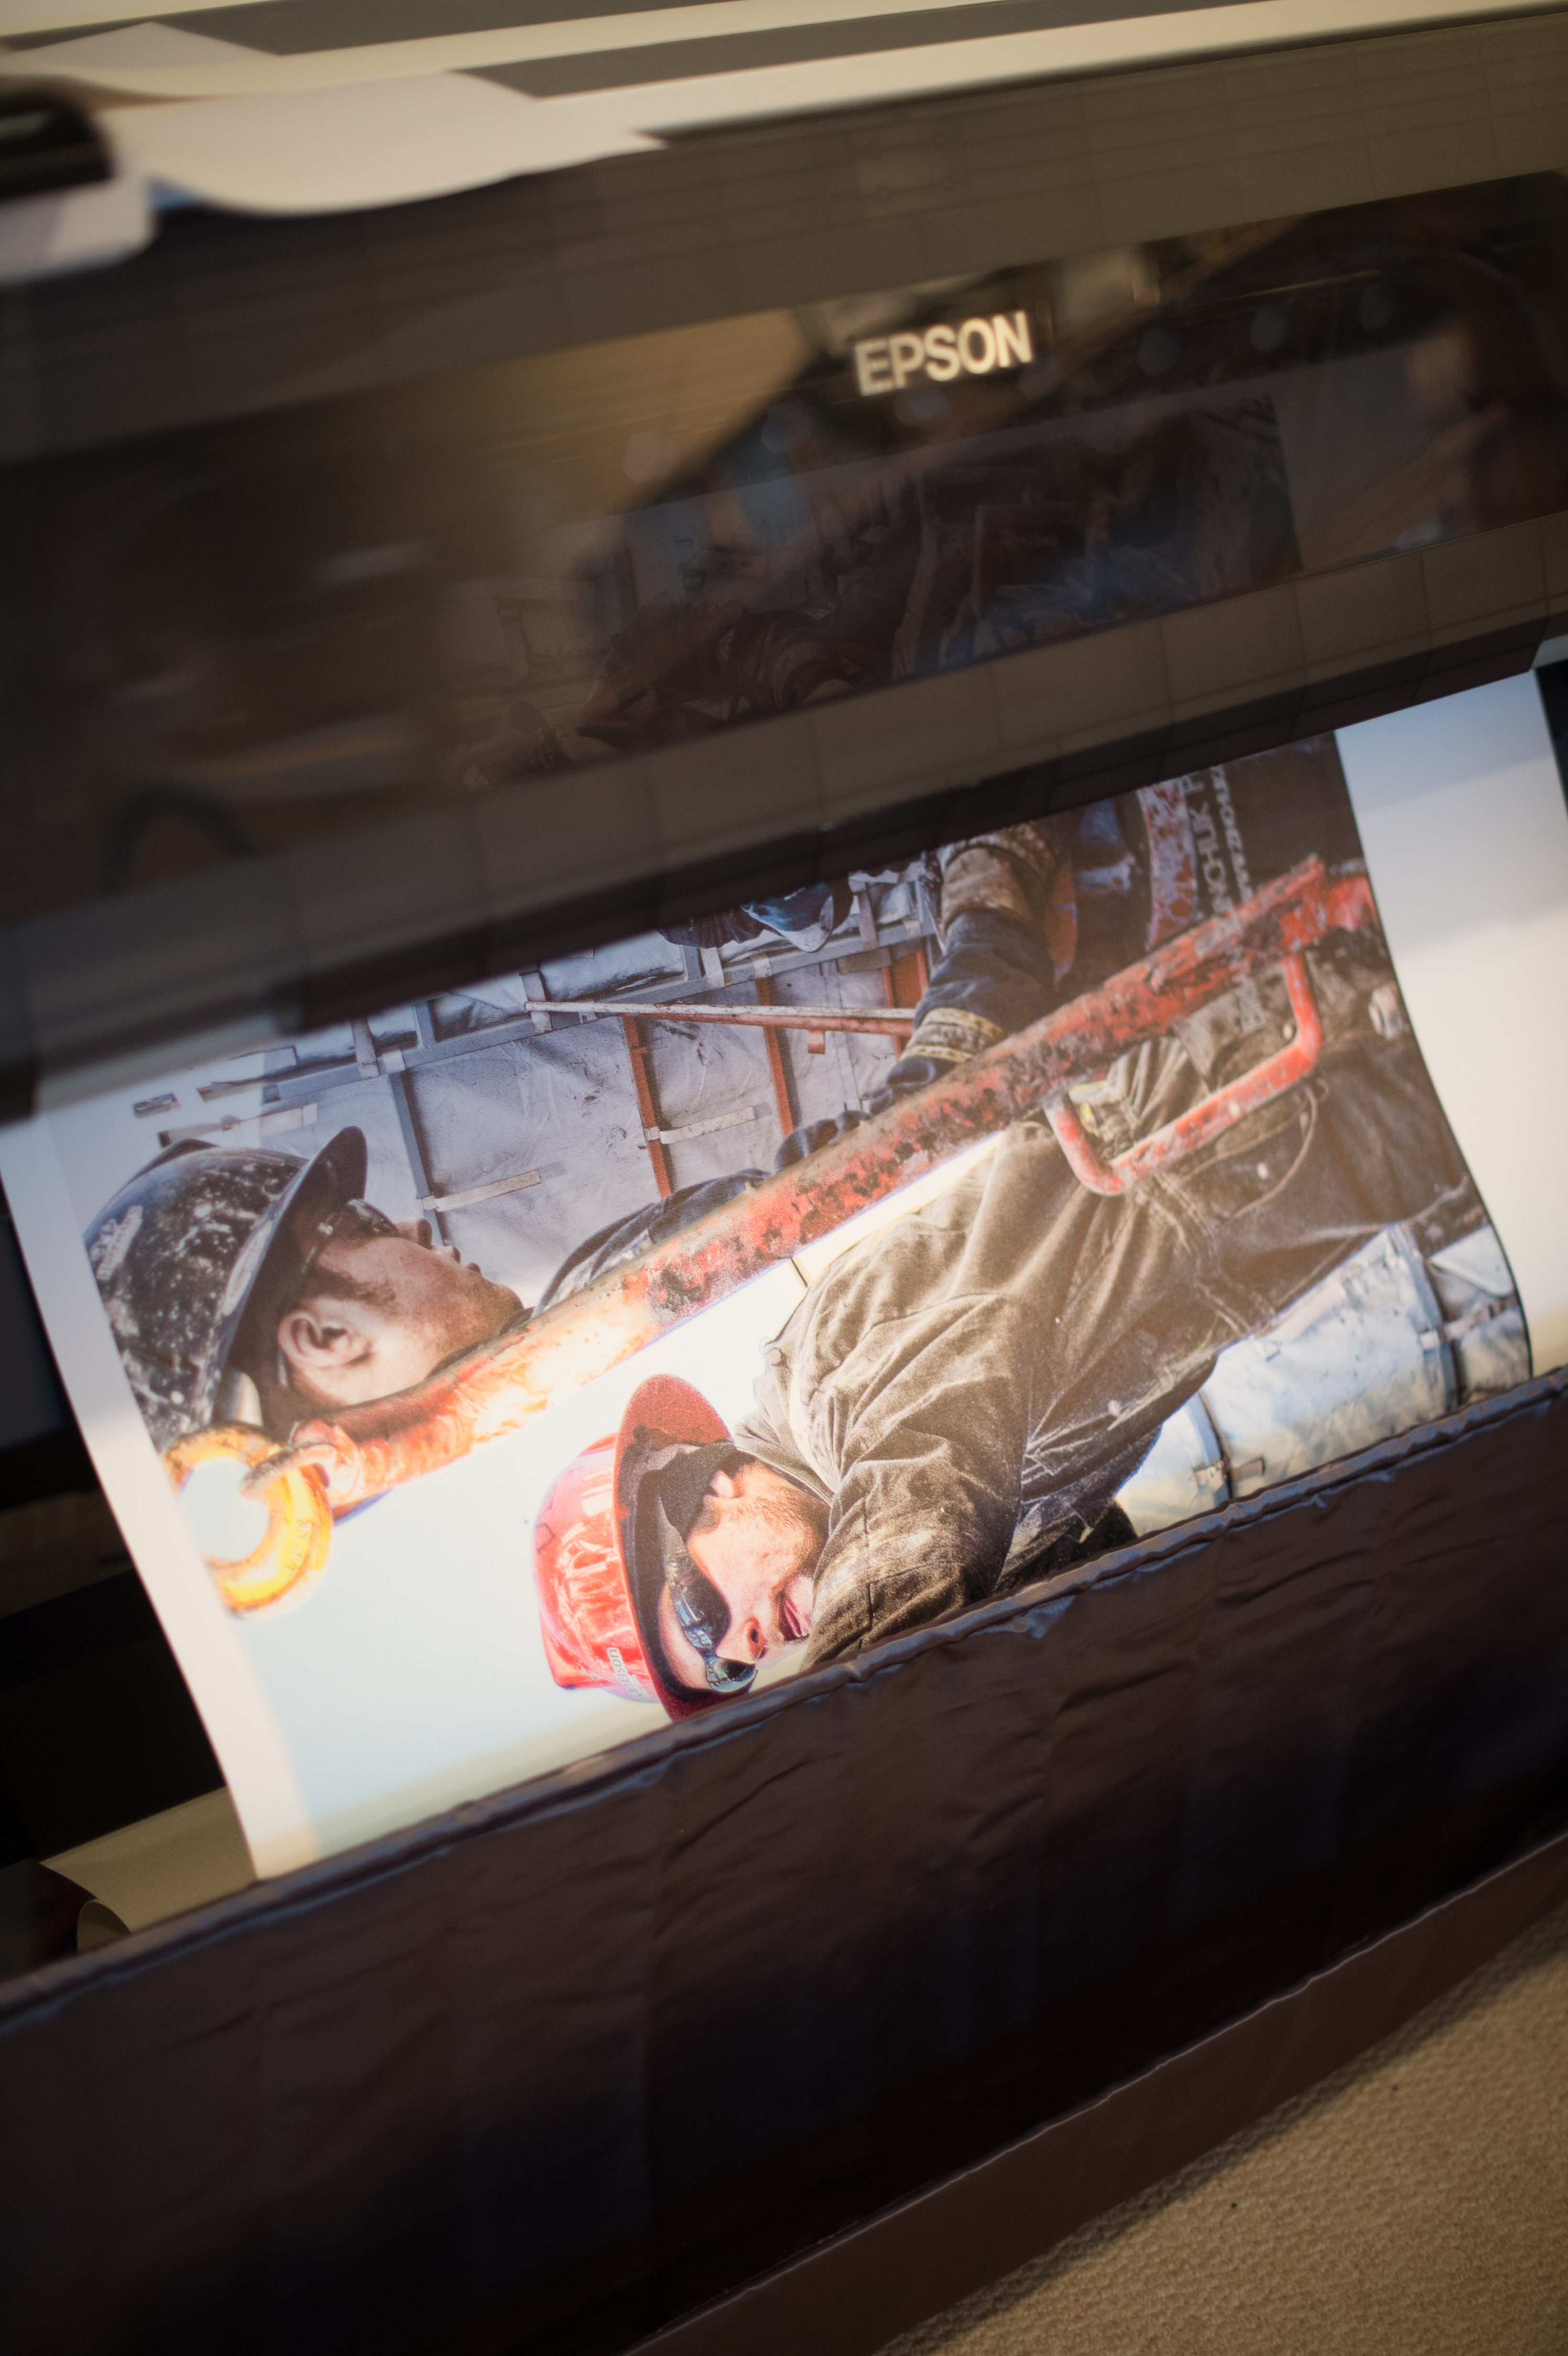
36 inch wide canvas (29 inches printed) wide coming off the 44 inch Epson 9900 wide-format printer.
Here you see the print coming off the massive, love-seat sized, 360 pound printer in my basement.
After some drying, it was time to apply the laminate.
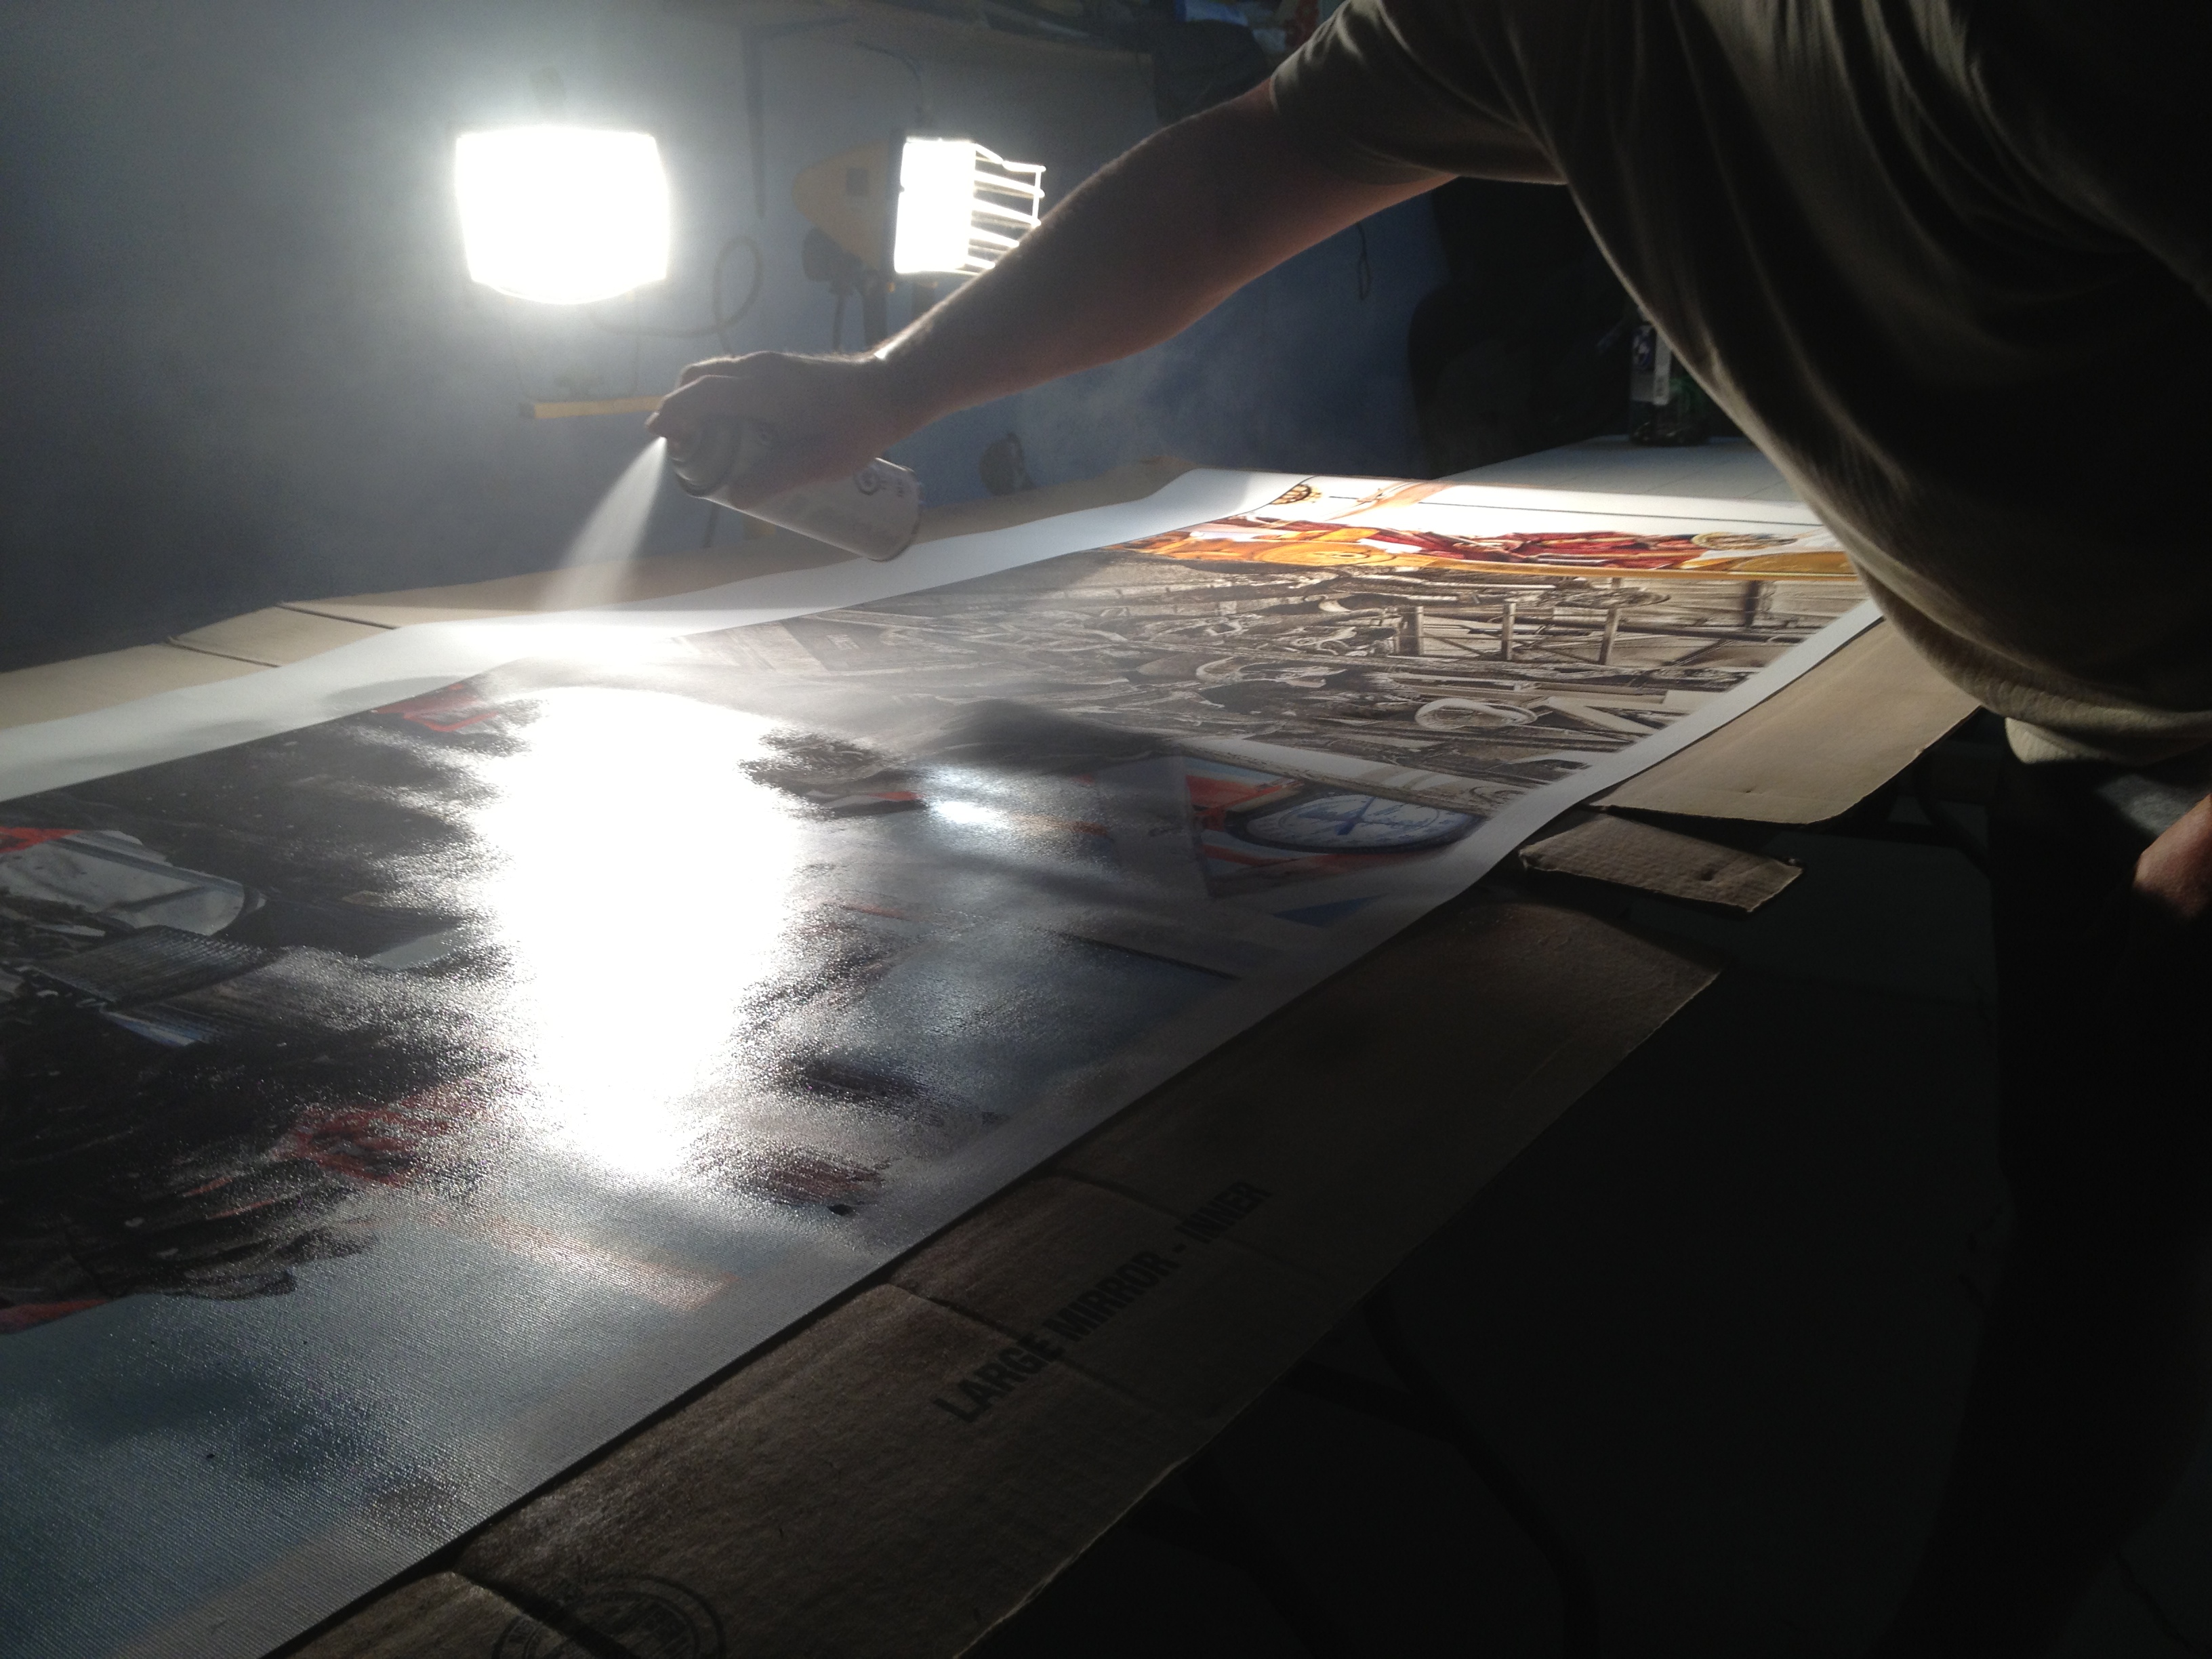
Spraying not one, but two cans of museum-quality archival laminate onto the canvas in the garage. It sure dries a lot faster in this weather than at Christmas time.
And once again, more drying.
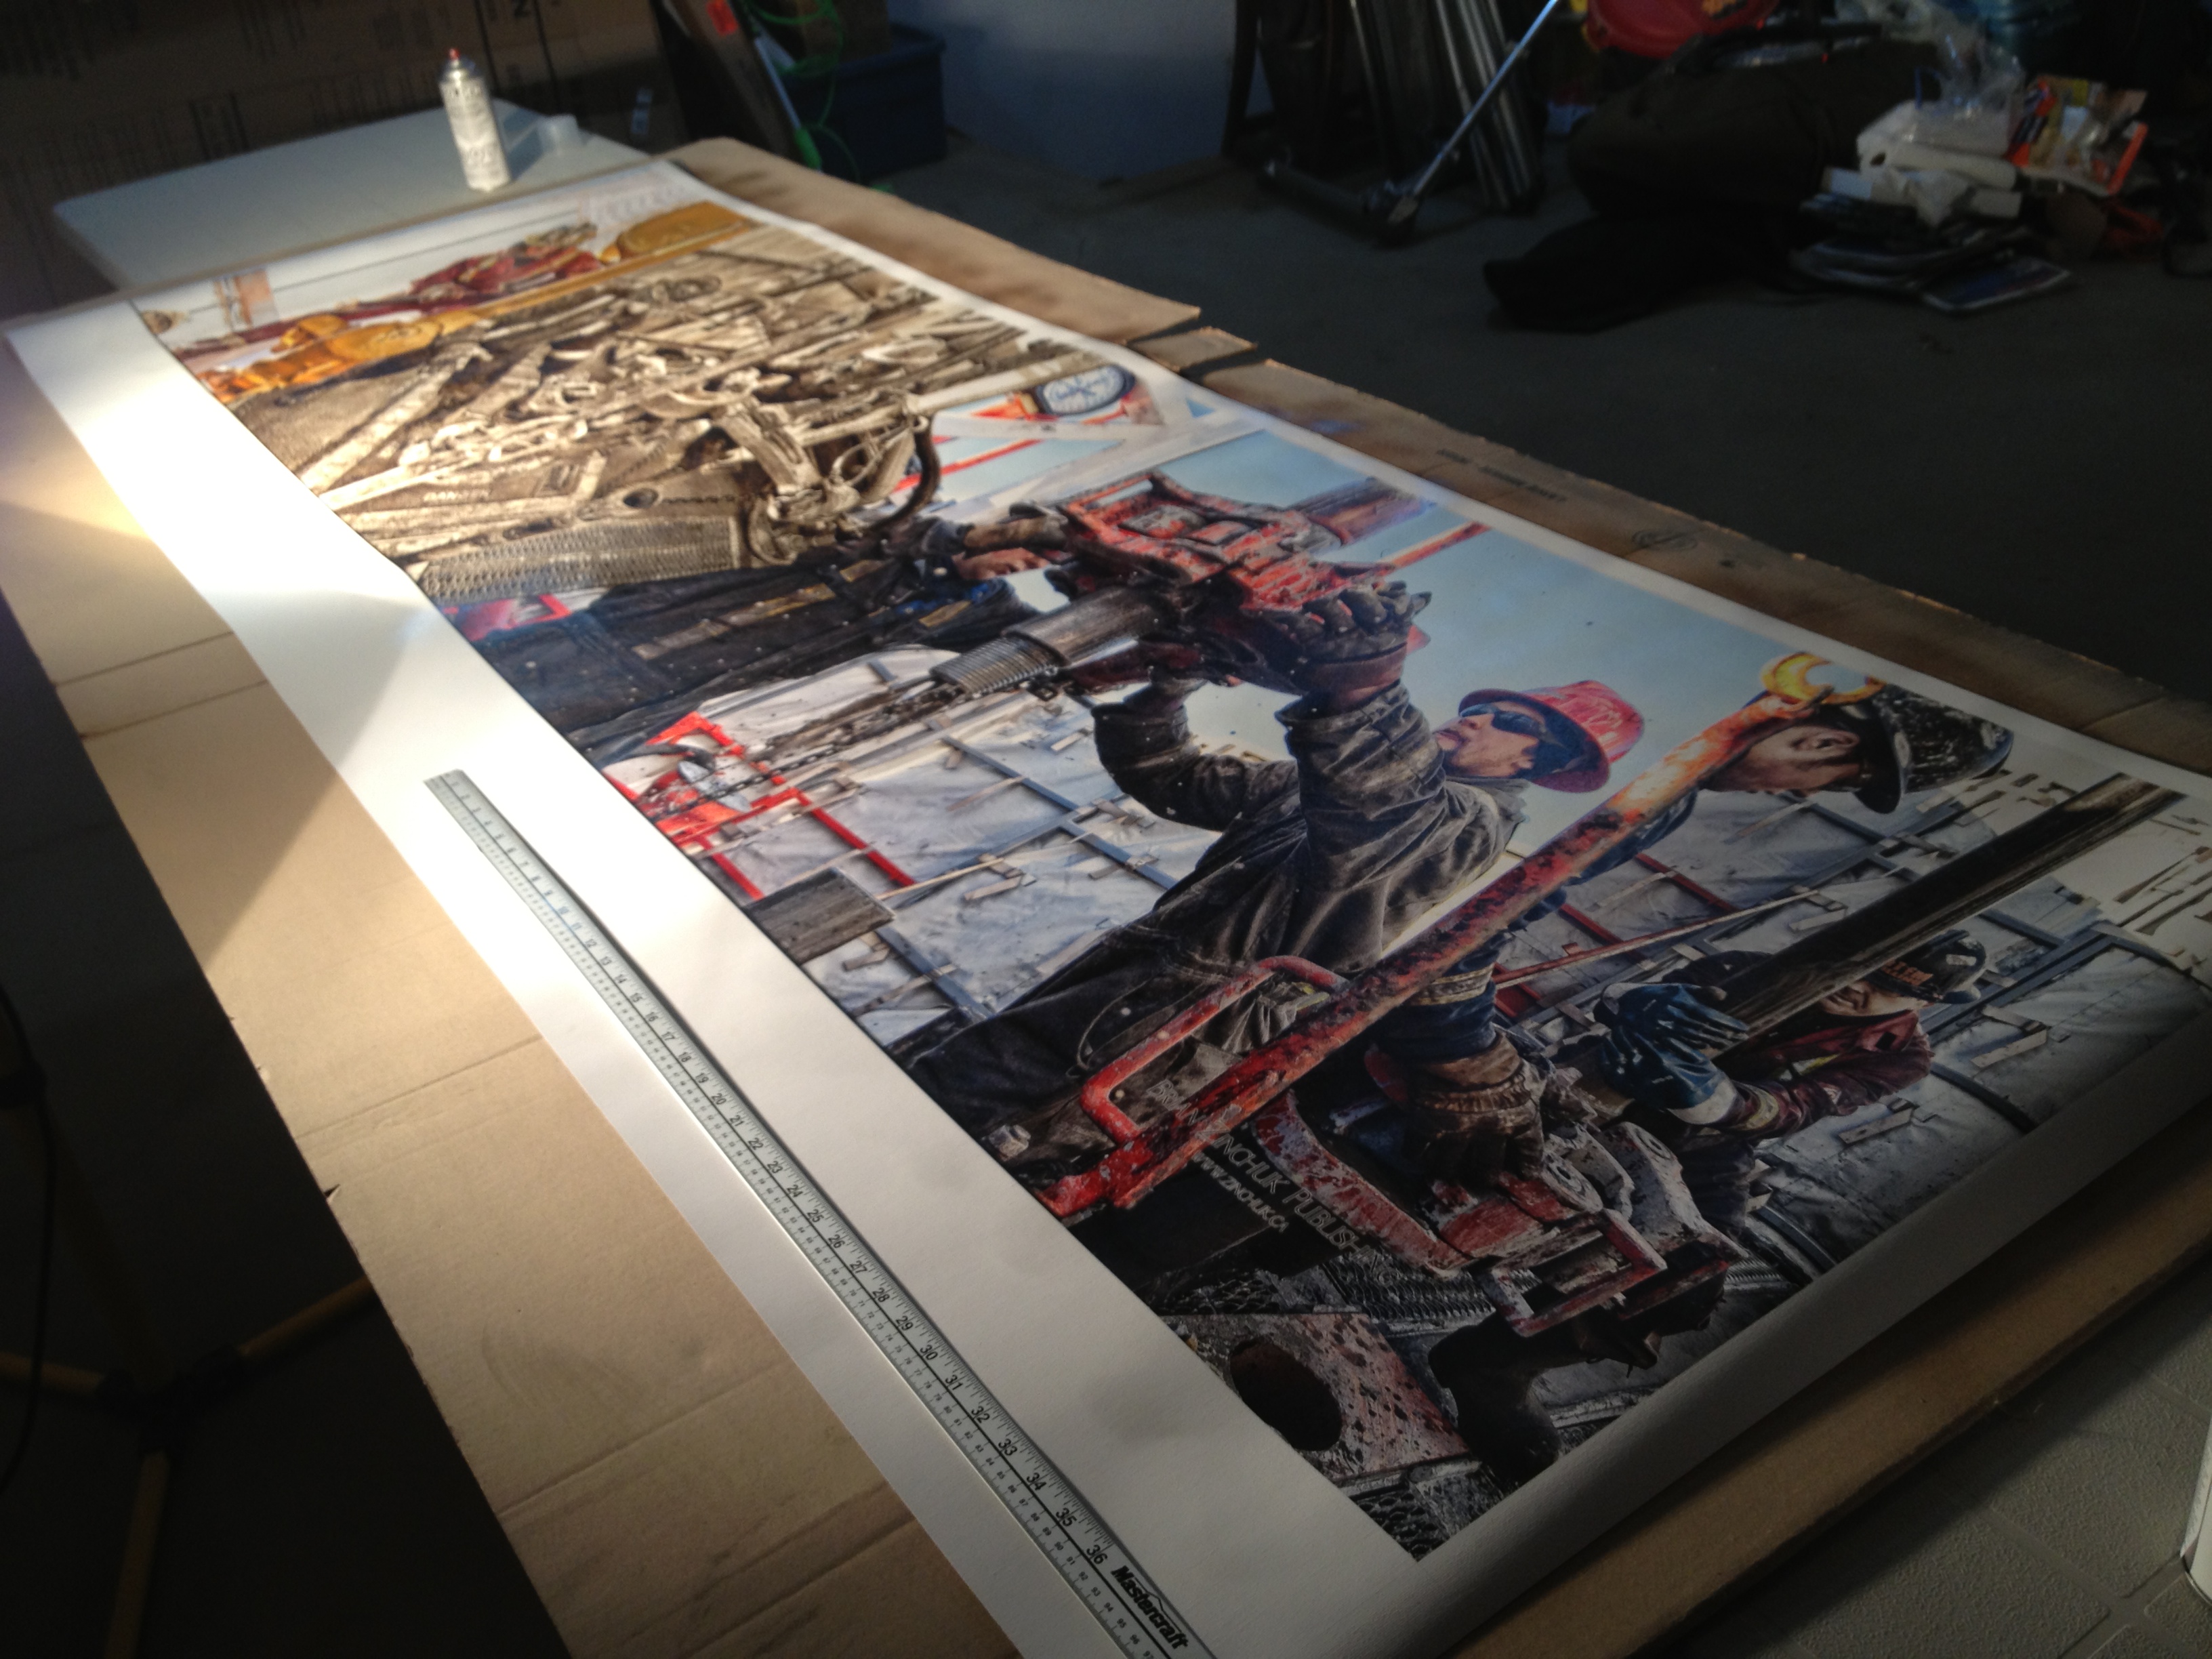
The metre stick provides perspective. This is drying after the archival laminate is applied.
Next step, mounting tomorrow evening.

Leave a comment